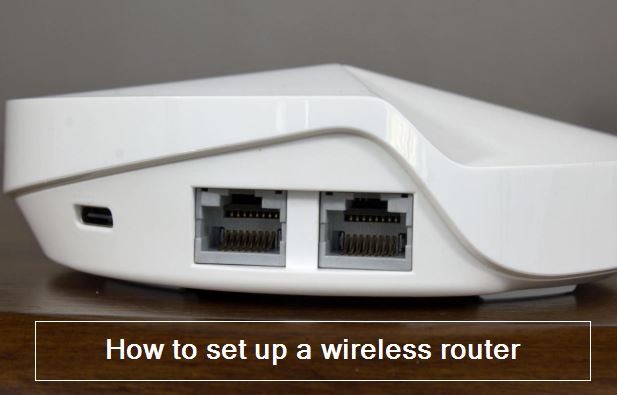
How to set up a wireless router
These tips will make your wireless router installation even easier.
set up a wireless router
Setting up a wireless router doesn’t have to be an ordeal. And while router manufacturers must be commended for making it easier to install their products, these tips will make the process even simpler. I’ll also show you how to make sure your home network is as secure as it can be, an
The majority of router manufacturers now offer smartphone and tablet apps that you can use for first-time installation and subsequent tweaking. In fact, some companies no longer bother with browser-based user interfaces at all. I think it’s best to have both options so you can decide which approach is best (personally, I prefer using the browser because the display connected to my PC is bigger and easier to see).
d I’ll explain some networking details that user manuals often gloss over.
The majority of router manufacturers now offer smartphone and tablet apps that you can use for first-time installation and subsequent tweaking. In fact, some companies no longer bother with browser-based user interfaces at all. I think it’s best to have both options so you can decide which approach is best (personally, I prefer using the browser because the display connected to my PC is bigger and easier to see).
Step 1: Place your wireless router
As any router manufacturer will tell you, the best place to locate your wireless router is in an open area in the center of your home. It’s great advice, because it will provide the most even coverage. It’s also impossible for most people to do, because you need to connect your router to the broadband gateway your Internet service provider (ISP) has provided you with. That equipment (be it a cable or DSL modem or—if you’re really lucky—a fiber gateway) is invariably installed at a perimeter wall.
[amazon box=”B07H97FRX5″ “small”]
If you can’t put your wireless router in the center of your home, at least try to avoid putting in a closet that will crimp its range. You don’t need to move the gateway, but you can use a longer (and very inexpensive) CAT5e or CAT6 cable to connect the router to the gateway’s ethernet port so you can put it out in the open. If you’re really ambitious, you could run a pair of ethernet cables through your walls to that ideal central location (one cable to connect the router to your gateway, and a second to connect it to an ethernet switch—perhaps in the closet with the gateway).
But there’s also an easier option: the mesh-style router. In this system, you locate one node wherever your gateway is, and then place subsequent nodes in different rooms of your home. Your data will wirelessly hop from one node to the next, and you’ll have a strong Wi-Fi signal nearly everywhere in your house.
But, caution: Don’t put a wireless node in a Wi-Fi dead spot—it won’t be able to connect to your network any better than any client device. Instead, place the node where its wireless signal can reach that dead spot.
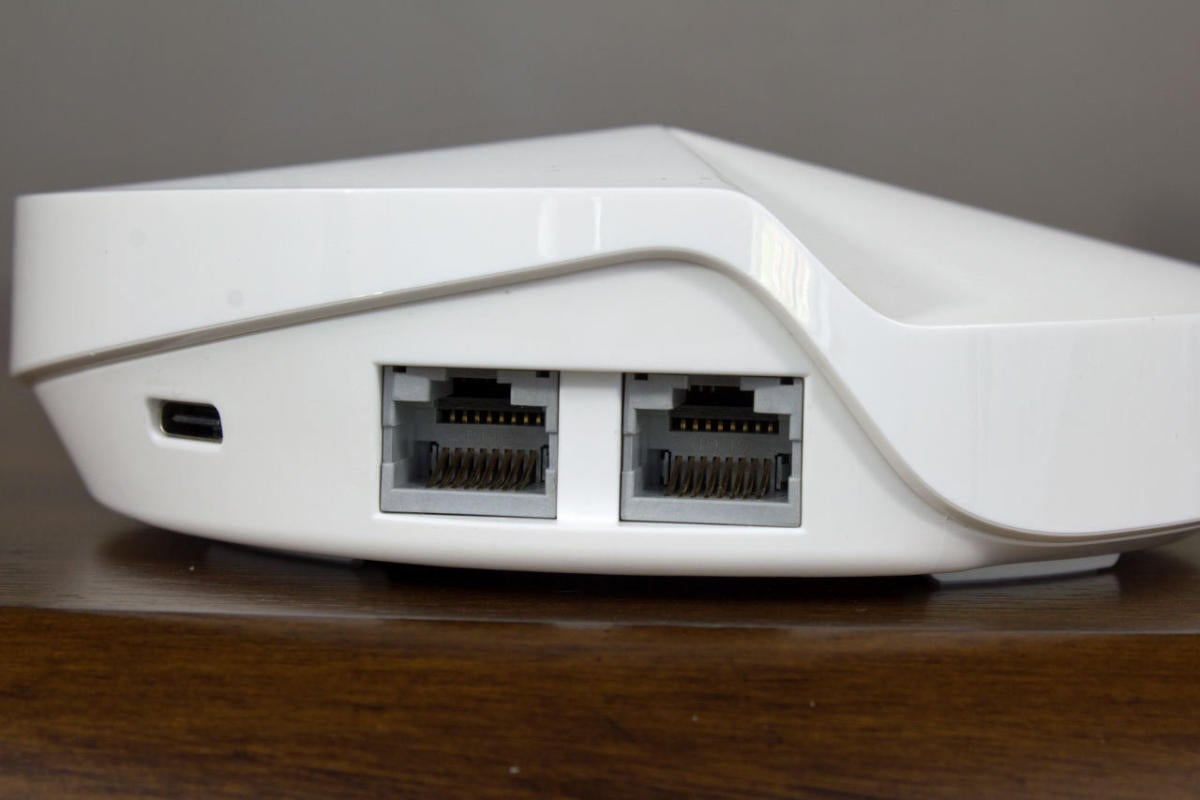
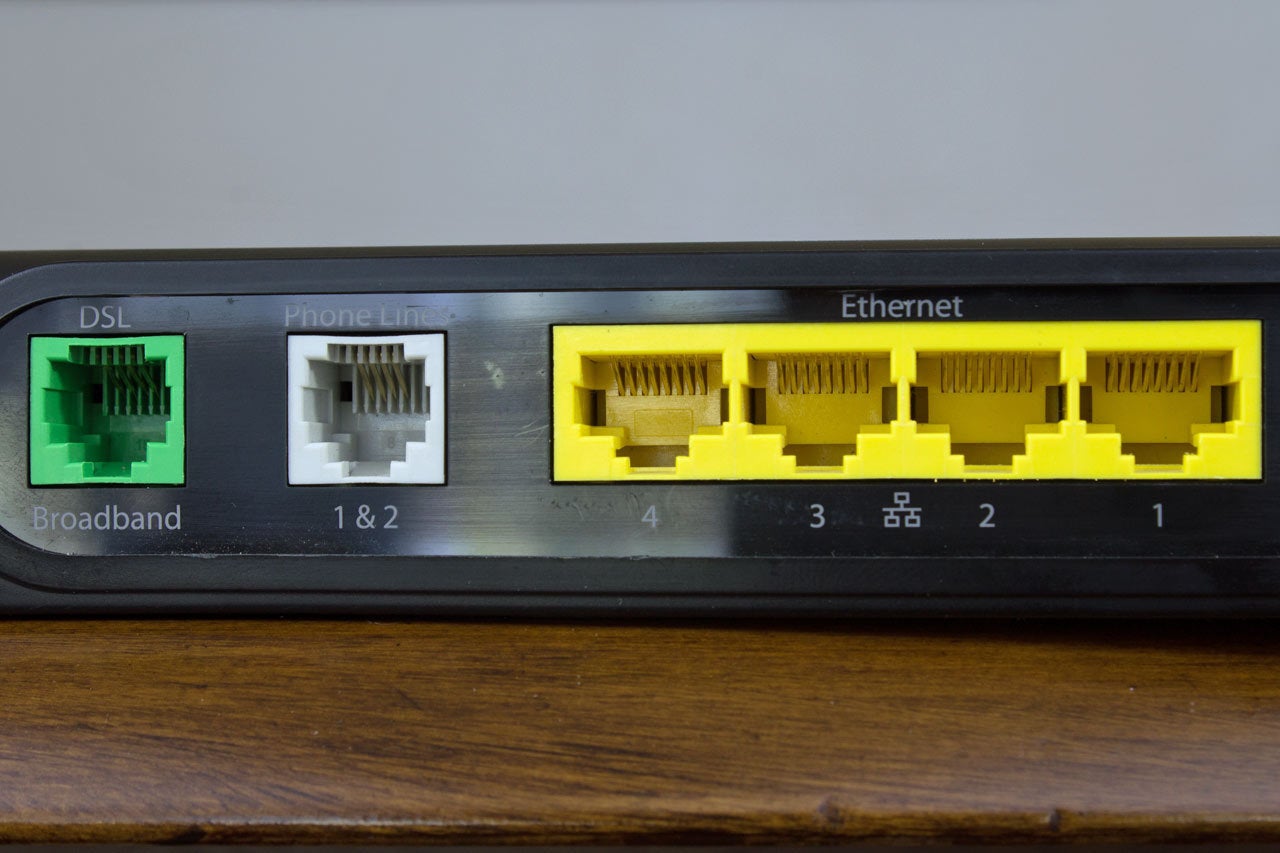
Some routers have a designated WAN (Wide Area Network) port for connecting to the gateway, while others have auto-sensing ports that automatically configure themselves as WAN or LAN (Local Area Network, i.e., your home network). You’ll need to perform some preliminary steps first, so don’t disconnect or turn anything off just yet.
Step 2: Configure your wireless router gateway
Most ISPs provide their customers with modems—aka gateways—that have routers built in. Unfortunately, these integrated modem/routers are usually of much poorer quality than stand-alone routers, and none that I know of allow you to build out mesh networks that have multiple wireless access points (or APs) that enable you to blanket your home with Wi-Fi (although Comcast will offer such a feature soon).
[amazon box=”B07NCRLGYH” “small”]
If your gateway has an integrated router, you’ll need to configure the gateway to disable the router and pass the WAN IP address (the unique Internet Protocol address that the ISP assigns to your account) and all network traffic through to your new router. This is necessary to avoid double-NAT scenarios, among other things. (Here’s explanation of double NAT and why you want to avoid it.) You’ll need to know the IP address that the gateway is using (you’ll typically find this on a label on the gateway itself). Enter the IP address into a web browser to access the gateway’s configuration screen.
Some gateways have what’s known as a “bridge mode” for working with a secondary router; others handle it differently. You might need to contact your ISP for help with this step, as some won’t allow you to configure the gateway yourself.
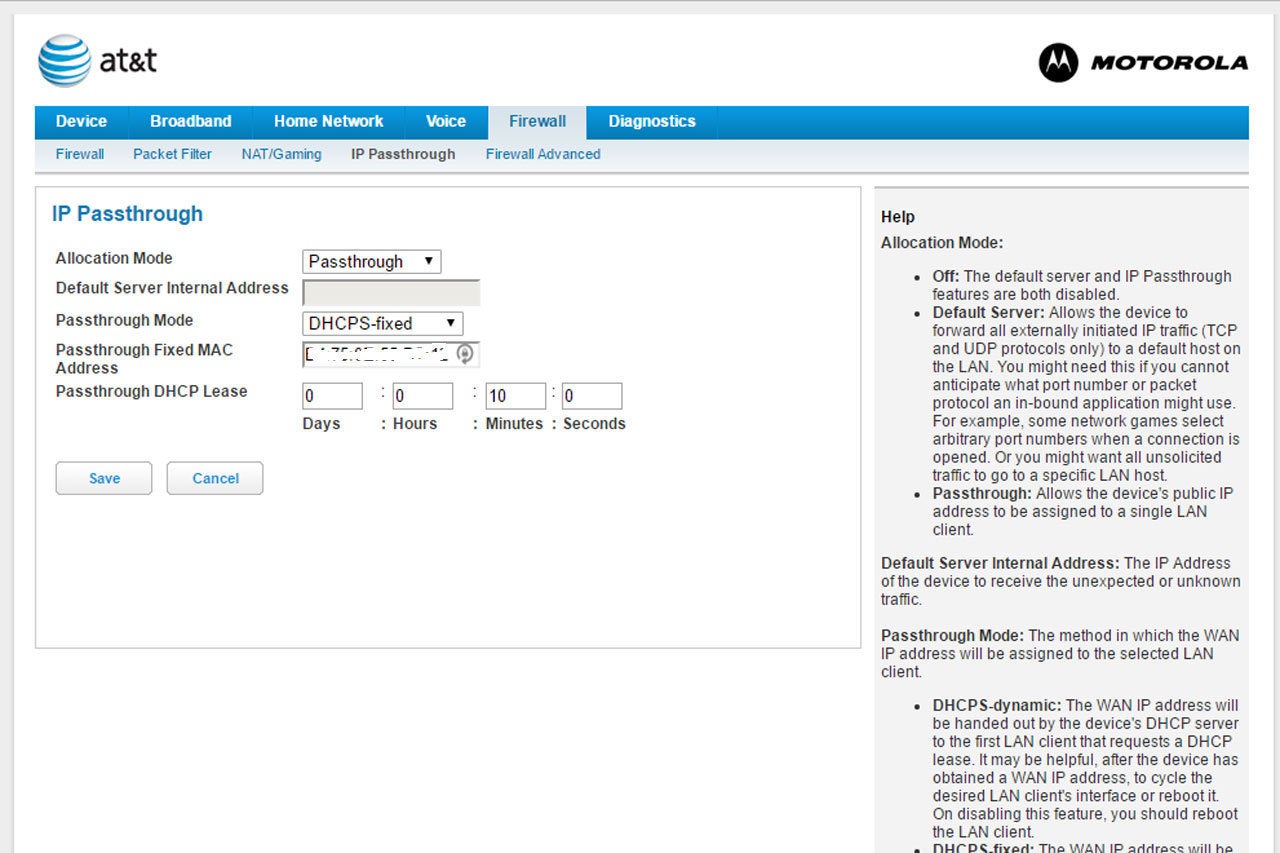
My ISP—AT&T U-Verse—provided me with a Motorola NVG510 DSL gateway/router combo. Configuring that device to work with a router involves logging into the gateway, navigating to the Firewall menu, and setting it to “passthrough mode.” You then further set the passthrough mode to “DHCPS-fixed” and provide your router’s MAC (Media Access Control) address.
DHCPS is an acronym for Dynamic Host Configuration Protocol Server, which dynamically assigns IP address to the devices on your network (I’ll go into more detail on this in a bit). The MAC address is a unique identifier for router—no two are alike. Once again, the process for your gateway could be different, but the result will be the same. You’ll also need to find the setting that turns off your gateway’s Wi-Fi access point, so that you’re not running a second—and useless—Wi-Fi network. When you’ve finished making these changes, reboot your gateway.
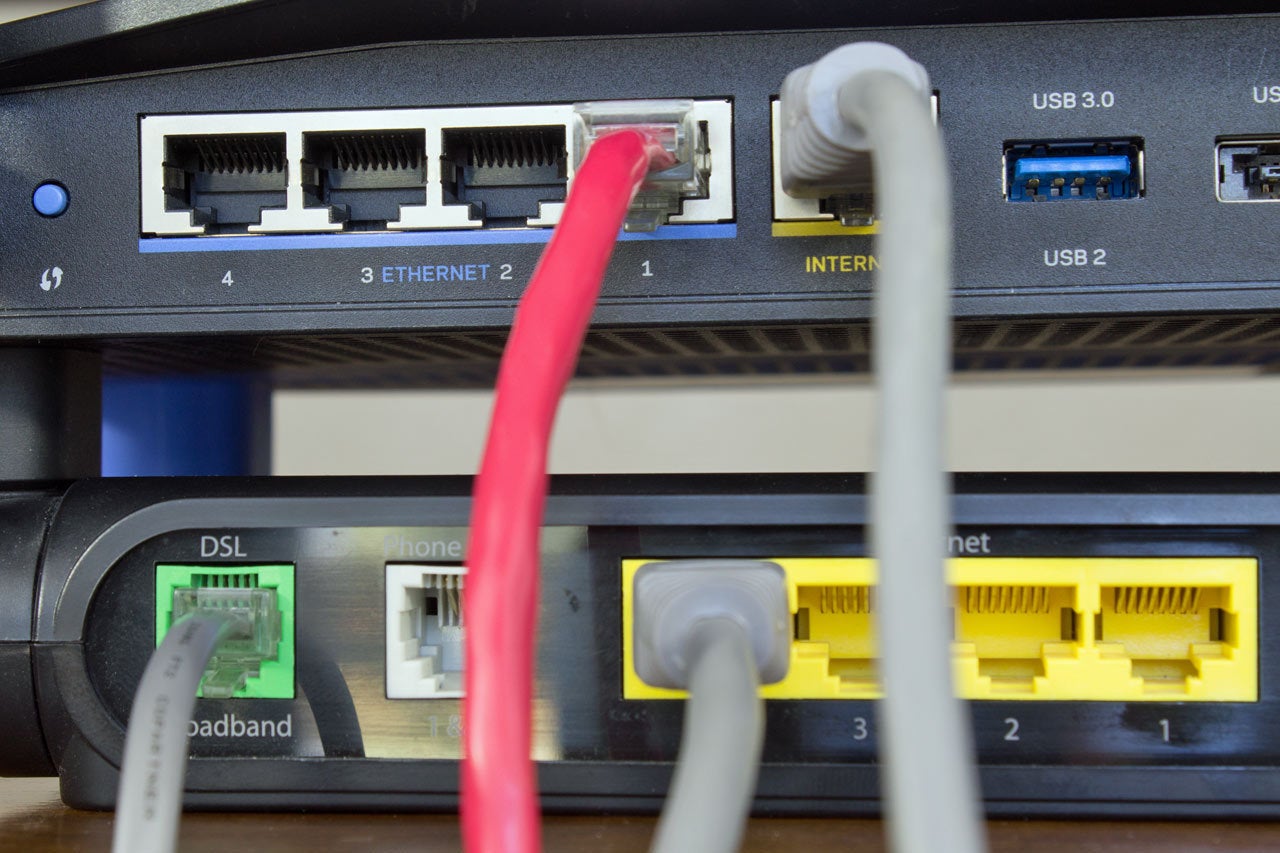
Step 3: Connect your gateway to your new router
Turn off your gateway (unplug the power supply if there’s no on/off switch). If an ethernet cable is plugged into the gateway’s LAN port, unplug it and plug it into your router’s WAN port (once again, some routers have dedicated WAN and LAN ports; others have auto-sensing ports). If there is no ethernet cable plugged into the gateway’s LAN port, an ethernet cable should have come with your router. Use it to connect the gateway to your router. Turn your gateway back on and wait a minute or two for it to boot up. Next, plug in your router’s power supply and turn it on. Wait another minute or two for it to boot.
Step 4: Change your wireless router’s admin password
Many router manufacturers provide smartphone apps for configuring their routers. Use it if your new router has one (in some cases, that might be the only way you can configure the router). If there’s no app, or if you’d prefer to use the router’s browser-based user interface, connect your PC to the router using an ethernet cable. Type the router’s IP address in your web browser’s address window and hit the Enter key. The router’s IP address might be printed on the router itself; it will look like 192.168.1.1 or something similar.
You’ll need the router’s admin login and password to log into it. This information might be printed on the router itself, but you might also find it in the user manual. Enter the required credentials and hit Enter. You should immediately change the default admin password because it’s not secure. Create something unique and either write it down or enter it into a password manager program such as LastPass. You will need it later to make changes and updates. If you forget the admin password, you’ll need to perform a hardware reset, and that could undo any customizations you’ve made.
Step 5: Update the router’s firmware
Router manufacturers often release new firmware after they’ve shipped the router. The new firmware might contain critical bug fixes as well as security and performance improvements, so always make sure you have the latest version. Most routers will check for new firmware, but few of them do this automatically—you typically need to at least click a button on the router’s configuration app. Take a look at your router’s documentation for details. You’ll need to reboot the router after a firmware update.

Step 6: Establish a password for your Wi-Fi network
Some routers come from the factory with a pre-assigned Wi-Fi password (they might even put it on a label on the router itself). Many others will at least prompt you to create one when you first set the router up. Be sure to configure the router to use at least WPA2 (second generation Wi-Fi Protected Access) encryption. The much older WEP (Wired Equivalent Password) is absolutely insecure and should not be used. No recent vintage router will use it by default, but most still support it in case you have legacy devices that can only use WEP. If you’re still using wireless devices that fall in that category, you should retire them because they’re leaving your entire network vulnerable to the most casual hacker.
The process for setting your router’s Wi-Fi password will vary from one model to the next. On the Linksys WRT1900AC router I use, for example, the settings reside in both the Connectivity and Wireless tabs (but not the Security tab, which is where you might expect them to be). If you have a dual-band router, you’ll need to assign passwords for both your 2.4GHz and 5GHz networks. They can be different passwords, but you’ll be happier if you use the same password for each (and you won’t be any more secure if you make them different). The password should be relatively complex and include letters, numbers, and special characters. Here again, you’ll find a password manager to be extremely useful unless you have a very good memory. If you operate one or more guest networks, you’ll need to create a password for those as well.
Step 7: Enjoy your Wi-Fi network!
If everything went according to plan, you should be able to log onto your new Wi-Fi network using the Wi-Fi password you just created. If your router has a guest network, take full advantage of it: These usually allow your guests to access the internet while walling them off from the rest of your network and the computers and storage devices connected to it.